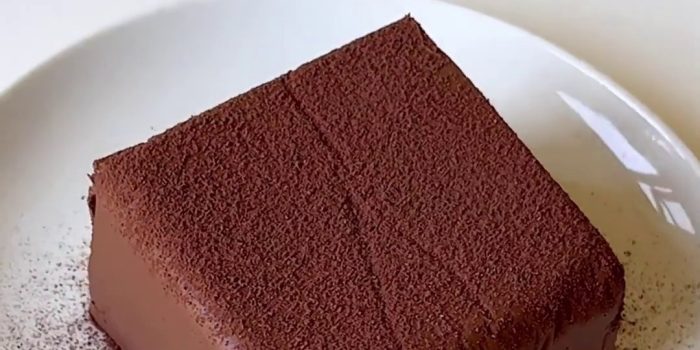
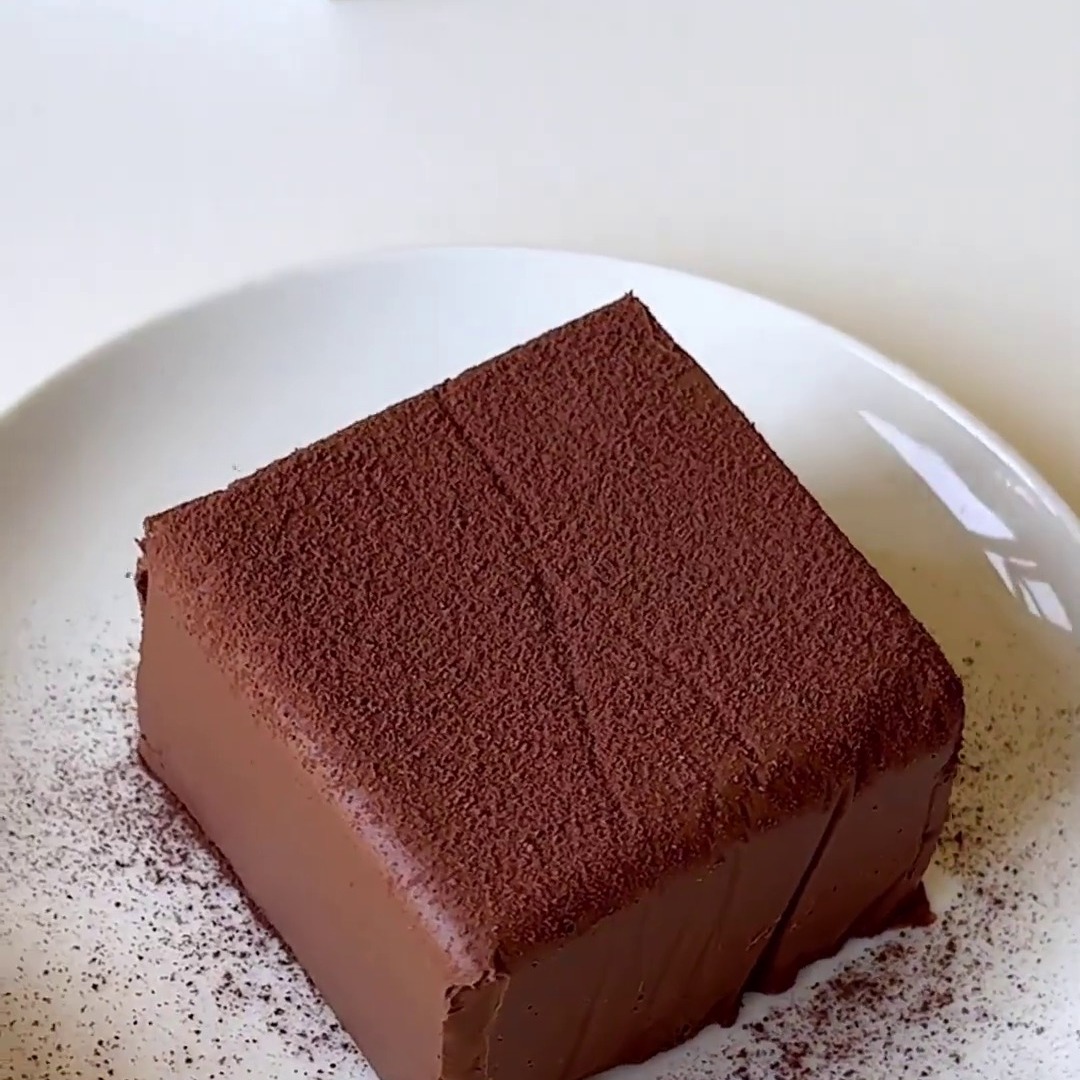
A square of chocolate so soft that a spoon sinks straight into it. This no-bake chocolate lava cake is one of the recipes from our YouTube channel, and it needs only four ingredients, one small pot and your fridge. No oven, no flour, no baking.
It isn’t the warm molten-center cake you get in restaurants. This one is set cold: the whole cake has that rich, silky, melting texture all the way through, a bit like a thick chocolate cream or a truffle you eat with a spoon. That’s where the “lava” comes from.
The method is short. An egg yolk, a little sugar and light cream are mixed in a pot and warmed on low heat until small bubbles appear at the edge. Then 120 grams of 65% dark chocolate melts into it until it’s glossy and smooth. It goes into a mold lined with baking paper, sets in the fridge for about 4 hours, and gets a dusting of cocoa powder on top.
Because there’s so little in it, the chocolate is the star. A 65% dark chocolate gives a deep flavor that isn’t too sweet, and only 15 grams of sugar goes in. Make it in the morning and it’s ready for dessert after dinner.
What you need
- 1 egg yolk.
- 15 grams granulated sugar.
- 200 grams light cream.
- 120 grams 65% dark chocolate.
- Cocoa powder, to sprinkle on top.
- A small pot, and a small square mold lined with baking paper.
These are the exact amounts shown in our video. It doesn’t give the size of the mold or how much cocoa powder to use; in the video it’s a small square mold and a light dusting of cocoa.
No-Bake Chocolate Lava Cake
Ingredients
Method
- Put 1 egg yolk, 15 grams of granulated sugar and 200 grams of light cream in a small pot.
- Mix well until smooth.
- Turn on low heat and warm the mixture, stirring, until small bubbles form at the edge of the pot.
- Add 120 grams of 65% dark chocolate and stir until the chocolate is completely melted and smooth.
- Pour the chocolate cream into a mold lined with baking paper.
- Refrigerate until set, about 4 hours.
- Lift the cake out of the mold and sprinkle it with cocoa powder to decorate.
Video
Notes
Tips
- Keep the heat low. The egg yolk is in the pot, so warm it gently and stop when small bubbles form at the edge. Don’t let it boil.
- Stir until it’s completely smooth. The chocolate should melt fully into the cream with no streaks or lumps.
- Line the mold. Baking paper lets you lift the set cake out cleanly, the way the video does.
- Give it the full 4 hours. It needs that long in the fridge to set enough to stand on a plate.
- Dust the cocoa at the end. Sprinkle it on just before serving so it stays dry and velvety.
Questions people ask
Is this a real lava cake?
Not the baked kind. A classic lava cake is baked so the center stays runny. This one is never baked: it sets in the fridge, and the whole cake has a soft, melting, silky texture.
Can I use milk chocolate?
Our video uses 65% dark chocolate. Milk chocolate would make it sweeter and softer, and it might not set as firmly. That would be your own change, not what the video shows.
How long does it need in the fridge?
About 4 hours, until set. Keep it in the fridge until you serve it.
You might also like
- Rich and decadent flourless chocolate cake, another chocolate cake with no flour.
- Air fryer oatmeal cake with blueberries, an easy cake from our channel.
- Air fryer pineapple pie with a lattice top, a quick dessert from our channel.