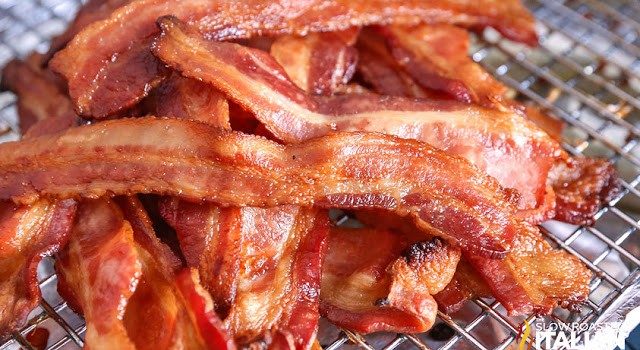
Bacon cooked in a pan spits fat across the hob, cooks unevenly, and leaves you scrubbing. Bacon cooked in the oven does none of that. It lies flat, it cooks evenly, it comes out the same every time, and you can do a whole packet at once instead of standing over three batches.
There are two ways to do it, and the difference between them is simply what you want at the end: crisp, flat rashers, or bacon with a bit of ripple and chew. Both were shown by Donna Elick at The Slow Roasted Italian, and the full method is on her site — the link is further down.
Method 1: the rack
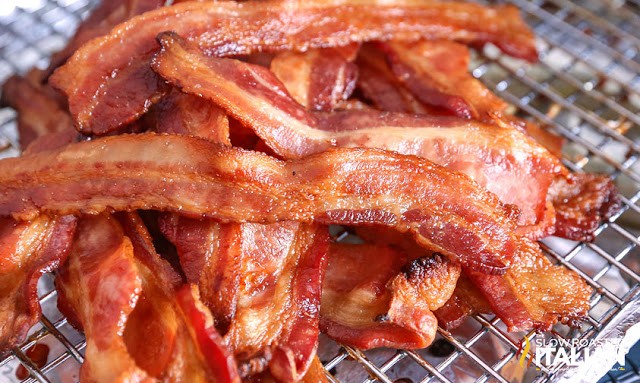
Line a rimmed baking tray with foil, set a wire cooling rack on top, and lay the rashers across the rack without overlapping them.
The rack lifts the bacon out of its own fat, so the fat drips away instead of frying it. What you get is flat, even, properly crisp bacon — the kind that snaps. It is the better method for sandwiches, for burgers, and for anything where you want the bacon to sit neatly.
When it is done, let the tray cool, then lift out the foil with the fat set into it and throw it away. The tray itself never gets dirty. The rack does, so it goes in the dishwasher.
Method 2: crumpled foil
Tear off a sheet of foil, scrunch it up loosely, then open it back out so the tray is covered in ridges and valleys. Lay the bacon straight on top.
The bacon drapes over the ridges as it cooks and comes out wavy rather than flat, with the fat pooling in the valleys underneath. It is chewier, and it looks like diner bacon. No rack to wash at all — the foil goes in the bin and you are finished.
This is the one to use when you are cooking for a crowd and clean-up matters more than a perfectly flat rasher.
Temperature and timing
Most oven-bacon methods land around 400°F (200°C) for 15 to 20 minutes, and that is a starting point rather than a rule. Thick-cut bacon wants longer; thin supermarket rashers can be done in twelve.
- Start checking early. Bacon goes from perfect to burnt in about ninety seconds, and every oven runs differently.
- Do not preheat if you can help it. Putting bacon into a cold oven and letting them heat together renders the fat more gently and curls the rashers less.
- Take it out slightly underdone. Bacon keeps crisping for a minute or two on the tray after it comes out.
- Drain it on kitchen paper if you have used the foil method, since some fat comes out with it.
What usually goes wrong
Overlapping the rashers. Where they touch, they steam instead of crisping, and you get a pale soft patch. Use two trays rather than crowding one.
Using a flat tray with no foil and no rack. The bacon sits in its own fat and effectively deep-fries, which is exactly the greasy result you were trying to avoid.
Pouring the hot fat down the sink. It sets in the pipes. Let it cool on the tray and bin it with the foil — or keep it in a jar in the fridge, because bacon fat is very good for frying potatoes.
The original
The full method is at The Slow Roasted Italian. Thanks to Donna Elick for the method and the photograph.
More on Love Cooking Daily
- Bacon Hashbrown Breakfast Casserole — where a tray of oven bacon goes next.
- 5-Ingredient Hash Brown Casserole — the busy-morning version, five things and done.
- 3 Breakfast Potato Recipes — cook these in the bacon fat and thank yourself later.
- Country Gravy With Sausage And Bacon — for a proper weekend breakfast.



JUST LOVE THAT BACON, NO REALLY
https://www.facebook.com/Fiercefork/